Congratulations


on the purchase! You’ve bought a great boat and I think you will find it as enjoyable of a boat as I have!
So there’s a few areas where water can be coming in at on your boat. The good news is with some time and a little effort you can achieve a dry bilge.
First, carefully inspect the O ring on the drain plug, as
@Babin Farms eluded to, having the boat on the trailer with plug in and add water to the bilge is a great to check for leaks. Pull the bilge pump automatic fuse which is next to the batteries before you start this process so you can add enough water to fully cover the bilge pump without it coming on to increase the head pressure inside the bilge. Spray the plug O ring with silicone spray as well as the female threads to keep things easy to install and remove.
Next, I’m going to assume you’ve had your live well full? If you keep the live well full the boat will list to port.
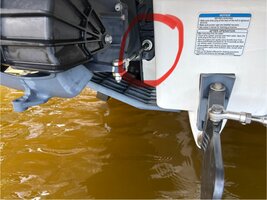
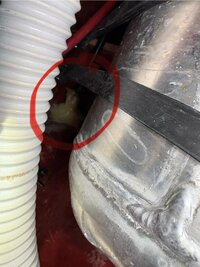
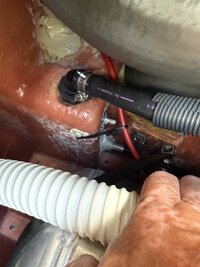
-If so there’s a couple of places where water can leak from the live well. There is an aerator on your live well, it picks up air from the little black circle with MAX AIR written on it, above the live well on the transom, there is a small black hose that runs from there down to a nipple on the aerator suction side fitting, that’s the one with the microfiche filter screen. I’ve seen a few 210 FSH owners finding the little black hose not connected to this little nipple, and when the live well is full a small but constant flow of water is draining into the bilge. You can pull the transom mounted cup holder on the starboard side and reach down in there to check that it’s connected.
-The next thing to check is the tightness of all the fittings on the live well. You’ll have to pull the clean out tray gain access to a couple of them although you’ll be able to reach the aerator fittings from the aforementioned cup holder. The others will require a certain level of boat yoga to get to from the clean out tray area. These are plastic fittings so just snug on them or you can strip the threads. While the clean out tray is off you can check the live well fill pump and it’s hoses as well as all the other clamps and such for tightness and corrosion.
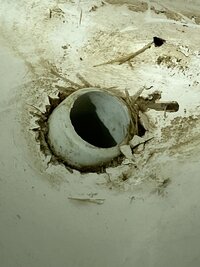
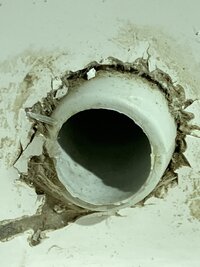
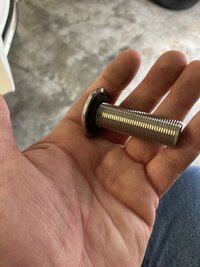
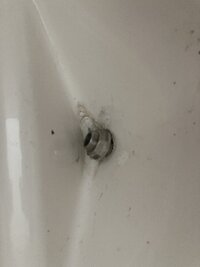
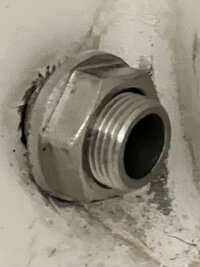
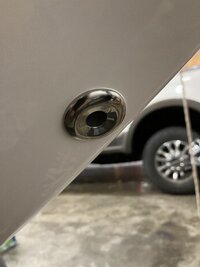
-The aft bilge area also gives you access to the deck drain scupper and the live well drain scupper, when you’re on the water use a bright light and reach down there to check for leaks around the scuppers and the associated hoses. These scuppers are plastic from the factory and should be changed out with stainless steel fittings.
Check this thread I did on the OEM scupper replacement
OEM scupper replacement
Also
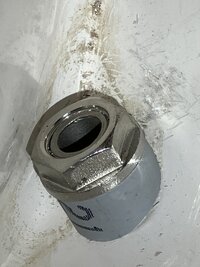
These are the ones I used on my boat, GemLux are the oem supplier for the stainless fittings on our boats. On my boat there are two oem scuppers, one for the deck drain and another for the live well drain.
On some of the boats the outside flange sits between two raised areas so you need to make sure the flange will fit in that area if that’s how yours is, one of the members had to grind a couple of flats in his to get it to fit.
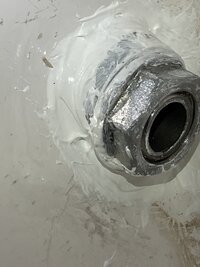
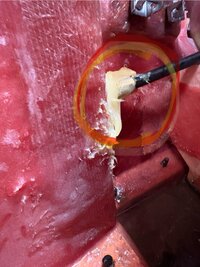
When you install the scupper do it dry to make sure everything fits correctly then pull it apart and slather on plenty of 3M 5200, put it under the flange...
Once you’re done in the aft bilge spray this area down with silicone spray to prevent corrosion and it makes it look nice.
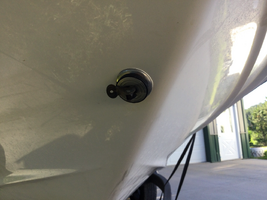
Next will be the anchor locker drain. Once our boats this drain is barely above the water line, if anyone is sitting up front it will be under water, and if the one on your boat is anything like mine it will be bringing water into the bilge.
@drewkaree did a great thread on this and the link below picks up with my contributions to that thread. Be sure and get the little stopper to keep water out of the anchor locker once you’ve replaced the crappy OEM thru hull.
Do you have some mysterious leak in your boat and you can't figure out where it's coming from? Well, if you found this thread from a search, you're trying to track it down, and you've maybe even taken a look in there to see what people might be talking about, and if your boat is affected. My money is on EVERY one of the models that have an anchor locker drain having this issue with varying degrees, with the best situation being that the fitting juuuuuuuuuuust reaches inside the anchor locker.
I've removed the piece inside my anchor locker that would support an anchor that fits the...
Other areas of water intrusion
Back to the clean out tray…. This needs to be sealed after it’s installed, don’t glue it down. You may find that the OEM screws are stripped so get some larger screws and put them in, just snug. I also eliminated the clean out tray drain as our boats have a channel on either side of the clean out tray, and that drain can allow water to shoot up into that area if you stop fast, I got the block off fittings from marine east, this eliminates another possible leak area and it makes it easier to get the clean out tray off and on. Next, you’ll want to get a mechanical hatch riser from Jet Boat Pilot.
Clean out plugs;
I’d also suggest putting clean out plug seal replacement kits on your plugs, then get a few sets of O rings from
@Spooky pantz.
Check out this thread. This find by
@TeeNGee deserves the Nobel peace prize! This will eliminate water coming up from the clean out plugs and onto the clean out tray, thereby eliminating this source of water into the bilge.
There has been lots of discussion about water on top of the clean-out plugs and that its fairly normal. Many people believe that water gets into the inspection port area from the swim platform when stopping, etc. and it fills the clean-out access tube.
I used to subscribe to that theory as well.... until I purchased the 275SD. The inspection access covers and clean-out ports sit pretty high up off the swim-platform. You would need to stop dead from 50mph or have a 3 foot wave come over the back of the boat to get water on top of the clean-out plugs. When I first started using the boat I...
Cup holders; None of mine were sealed properly when they were installed! This is ESPECIALLY noticeable on the cup holders on the storage pods, when water gets on the top it just trickles down onto whatever is in there. All of the cup holders need to be sealed up. Also, the bow cup holders drain into the bilge, I just plugged mine. So do the transom mounted ones I ran drains from mine as well as the rod holders there to the additional deck drains I put in, if I was to do it over I’d just run them onto the deck.
Rod holders; The forward mounted ones have drains that go overboard but the aft ones drain into the storage compartments. Again, routed these into the additional deck drains but if I were to do it again I’d dump them onto the deck.
I added three zero degree rod holders, two were mounted 12” forward from the forward most 30° OEM rod holders, and the third was mounted in the transom behind the helm seat. These 0° rod holders I bought from Yamaha as the two OEM transom mounted rod holders are 0°


Interestingly there is a spot in the center of the transom where the non skid changes to smooth and it appears this space was intended for a 0° rod holder.

So, the reader has obviously noticed the chinger in the gel coat, and it’s circular shape, this was caused by a hail stone and...
Once all these things are done you will have a dry bilge. On occasion I get a half a coffee cup full out of my bilge but that’s usually after I’ve used the raw water wash down extensively and I think it gets in through the removable seat back holes for the jump seats.
Check my signature links for other things I’ve done to my boat. One of the ones I like best is the addition of an electric pump for the raw water wash down and the additional deck drains


